In this short tutorial series I’m going to teach you how to set up a Linux Apache MySql PHP(LAMP). We will be using free and open source software for this tutorial. The Linux operating system we will be using is Ubuntu 11.04, my favorite Linux distro. VirtualBox will be the virtual Machine we will be using, but most of this tutorial should work with other virtual machines. At the end of this tutorial you should have a working server which can run PHP scripts, also will have PhpMyAdmin for your database.
Tools you will need:
First lets download and grab all the tools we will need.
You can download VirtualBox for free at http://www.virtualbox.org/wiki/Downloads which works for both Mac and Windows, you can install this like a normal Mac or Windows app. Since i’m using a Mac right now, i’ll download the one for OS X hosts.
Next you will need the Ubuntu ISO. You can get that at http://www.ubuntu.com/download/server/download. I got the 32 bit version.
Next your going to want a way to SSH in to your server. On Mac you can use the Terminal. On Windows you can use Putty. You can download it at http://www.chiark.greenend.org.uk/~sgtatham/putty/download.html.
Your going to need a SFTP client to transfer files and understand how to use it. Check out my How to SFTP tutorial.
Last you need a text editor. You can use anyone really, it just needs to be pain text.
Set up the virtual Machine:
First you need to install Virtual if you don’t have it installed already. This is the same as installing just about any other app. Click the installer and follow the setup wizard.
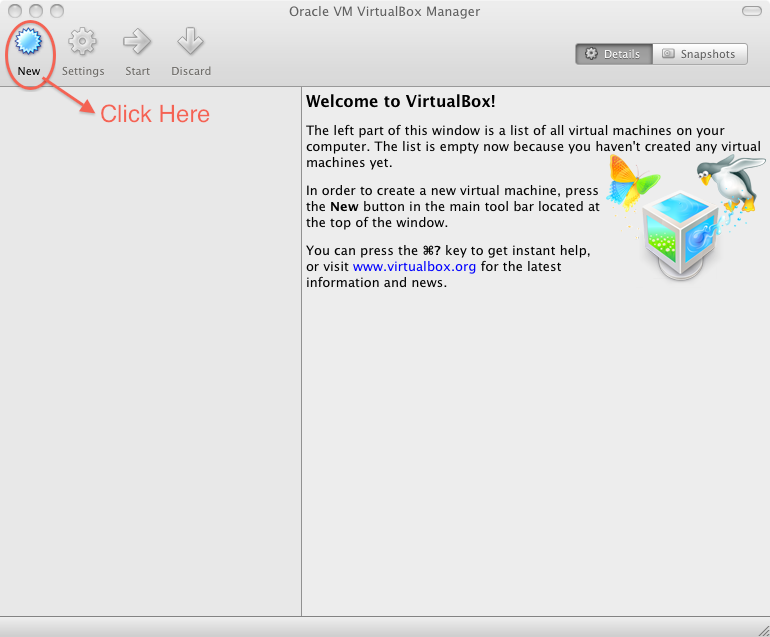
After Virtual Box is installed, we have to then create a virtual Machine. To start click on the new icon.
Tells you some information about the wizard, Click continue.
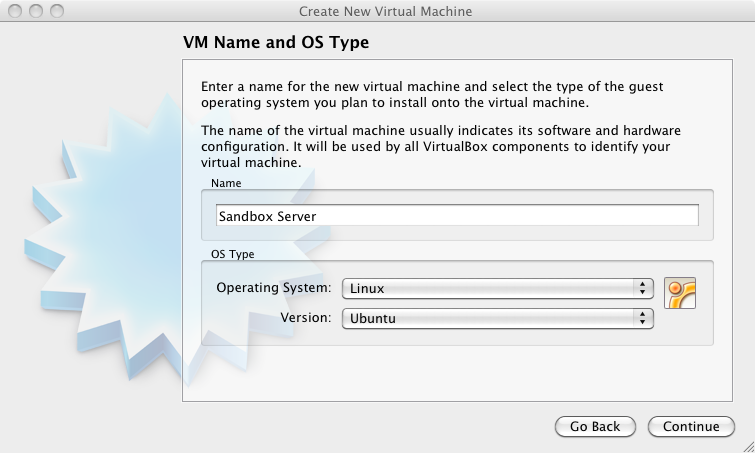
Give it a name, Select OS type.
Next you get to set how much memory(ram) the server can use, I’m keeping it at the default 512MB.
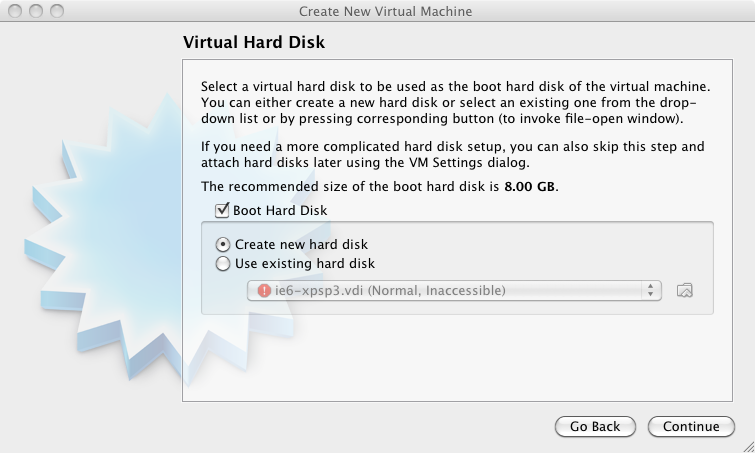
 Now we are going to create a new disk.
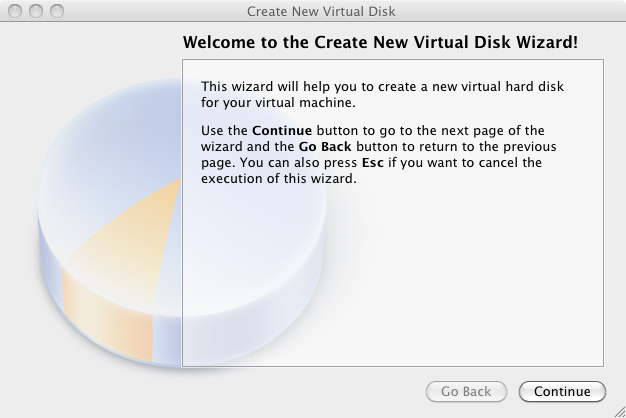
The disk creation wizard comes up, click continue.
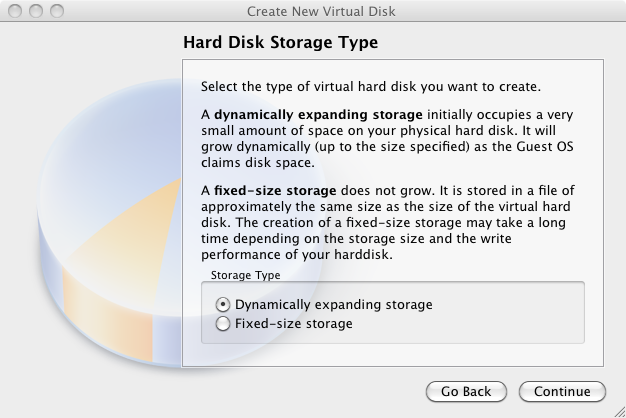
Next pick the storage type, i picked the dynamic one because it will grow as the VM grows, not taking up the whole disk size at the beginning.
Next set the disk size. I’m going to use the default 8GB.
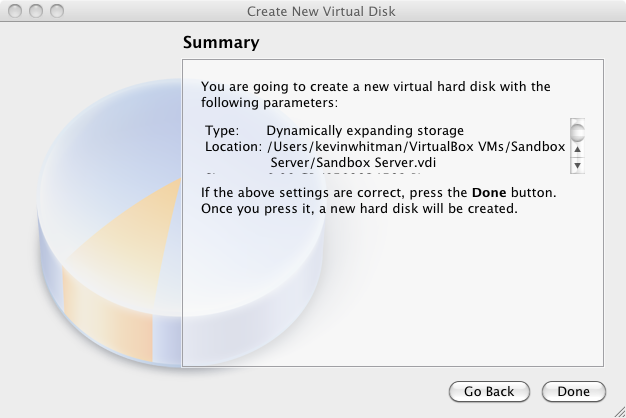
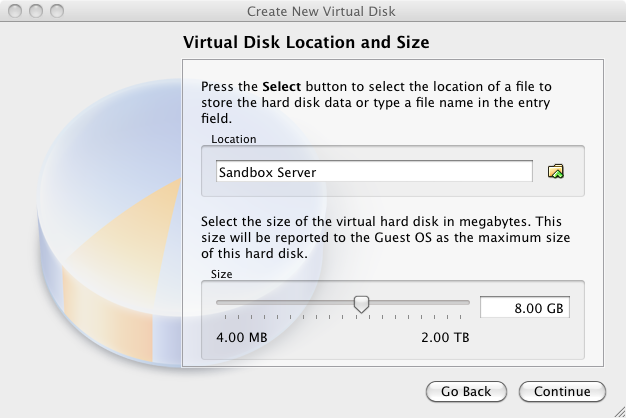 Now VirtualBox will show the disk summary, click done.
Now VirtualBox will show a Virtual Machine summary. Click Done.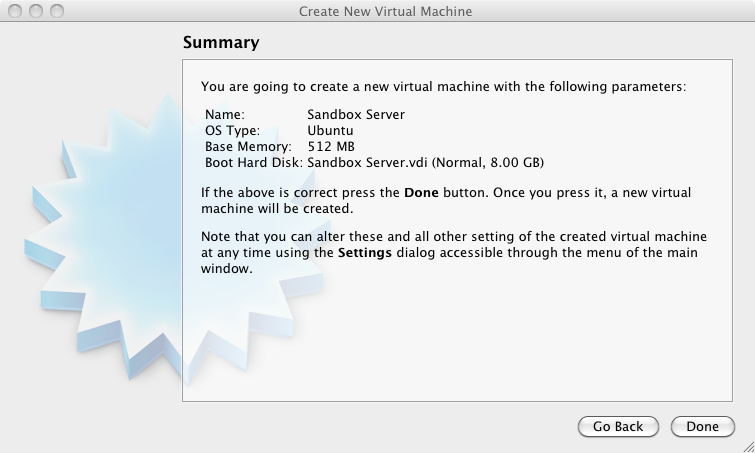
Set the Network Settings on the virtual Machine:
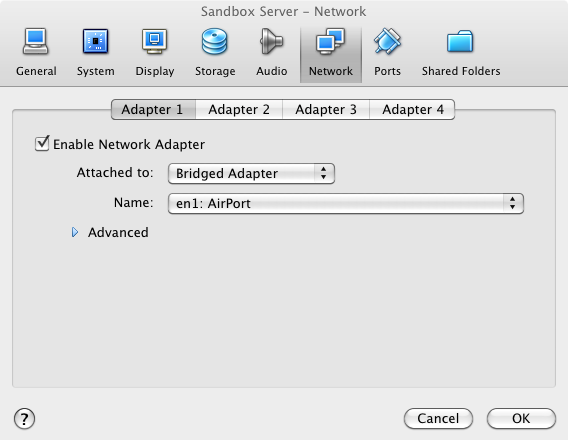
Now we are going to set up the network on the virtual machine to give it its own ip on the network, like a physical computer would have.
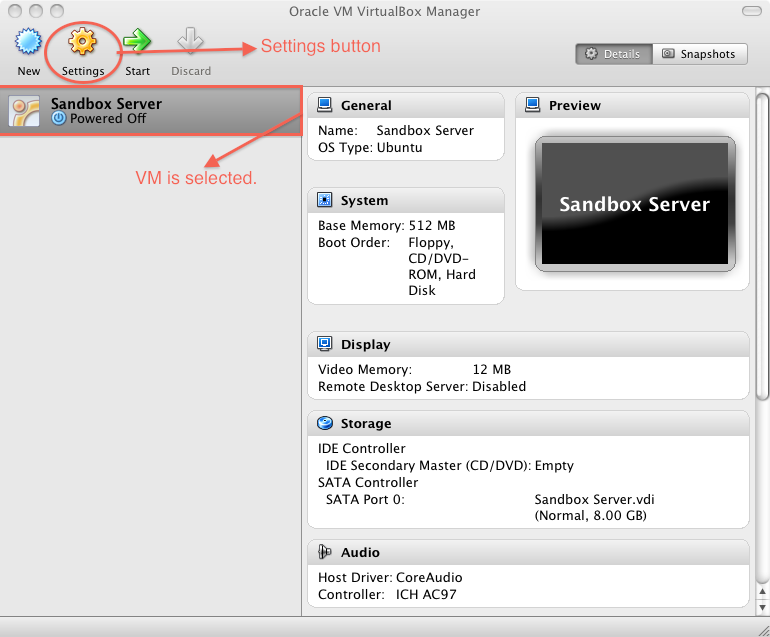
Make sure the virtual Machine is selected and click on settings.
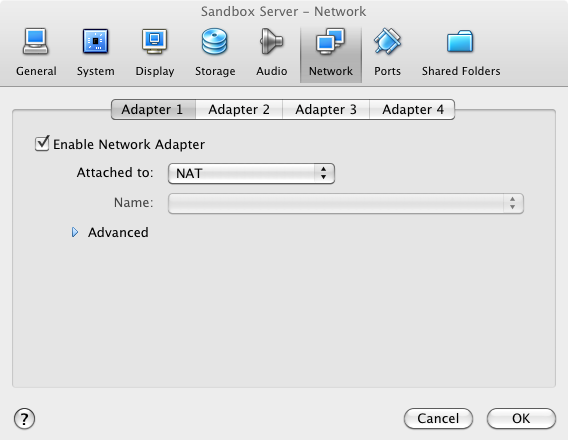
Select the Network Tab
Change the attached to, default is set to NAT. Change it to Bridged Adapter. Then select the name of the adaptor. I’m using a Mac using the Wireless Airport, so I’ll select the one with Airport. on a Windows pc, this may be different. Use common sense and/or trial and error. Then click OK.
Virtual Machine first run:
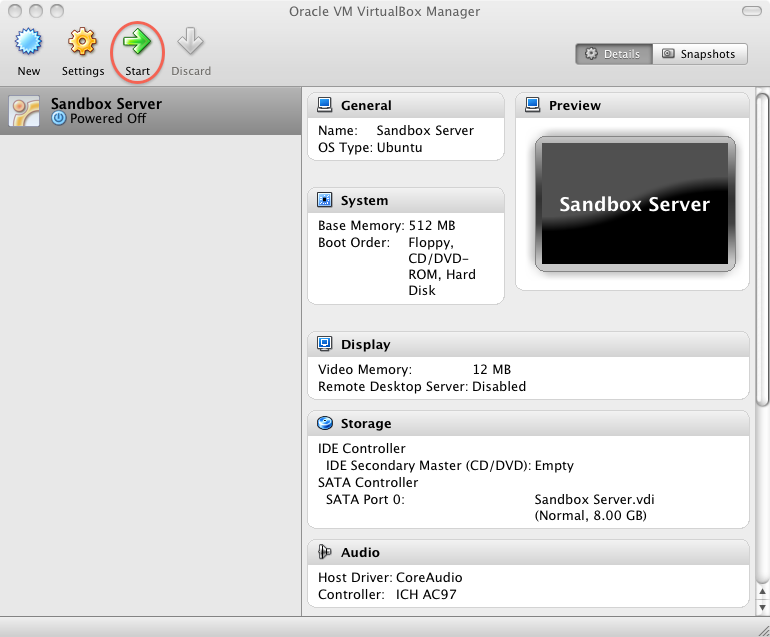
Now select the server and click start.
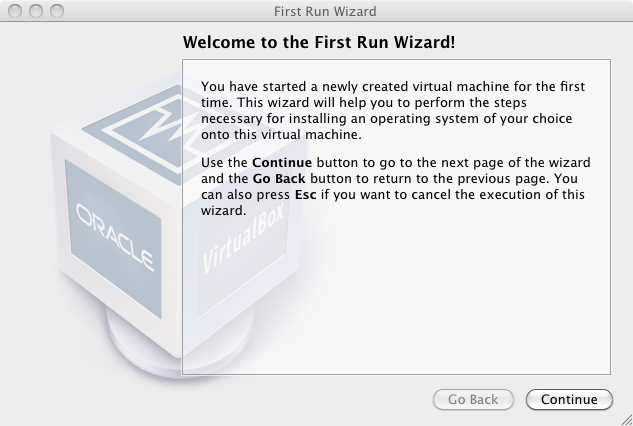
Now the first run Wizard will come up. Click Continue.
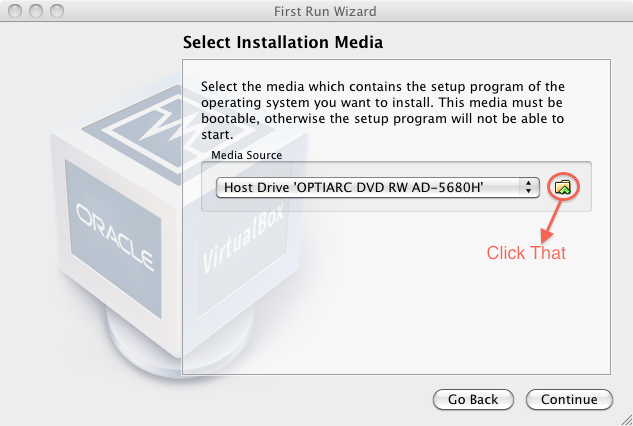
Now you click on the folder with the up arrow next to the drop down to select the ISO on your hard drive.
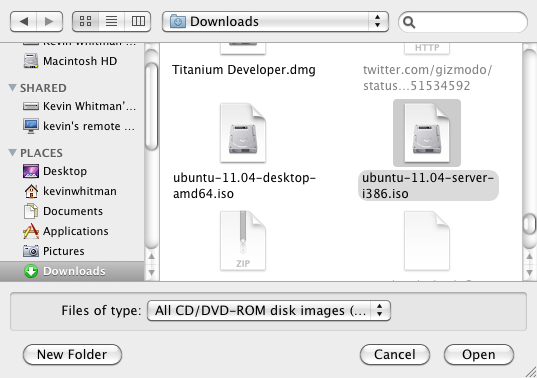
 Now find the Ubuntu Server ISO. Click Open.
 The ISO is now shown as selected. Click Continue.
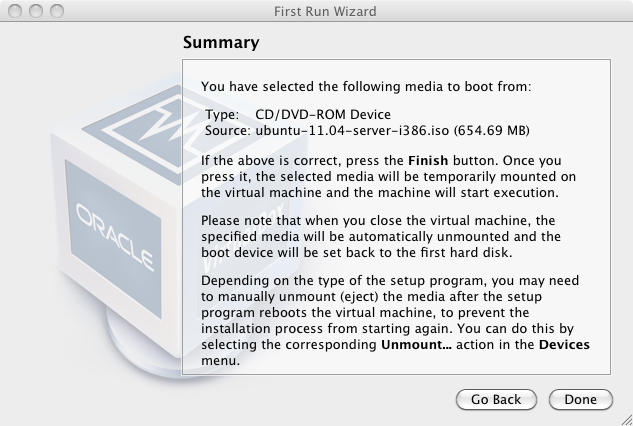
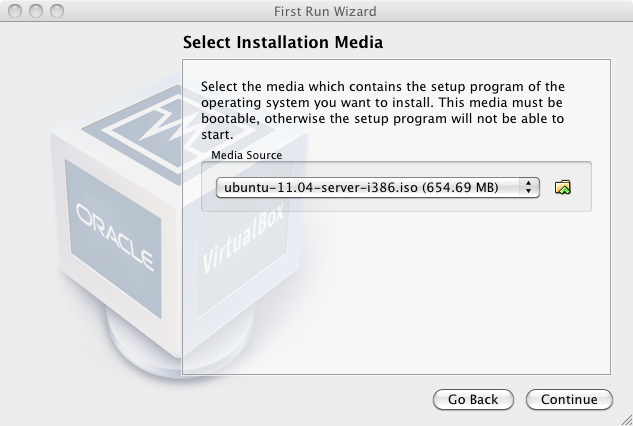 It will now show a summary. Click Done.
Install Ubuntu:
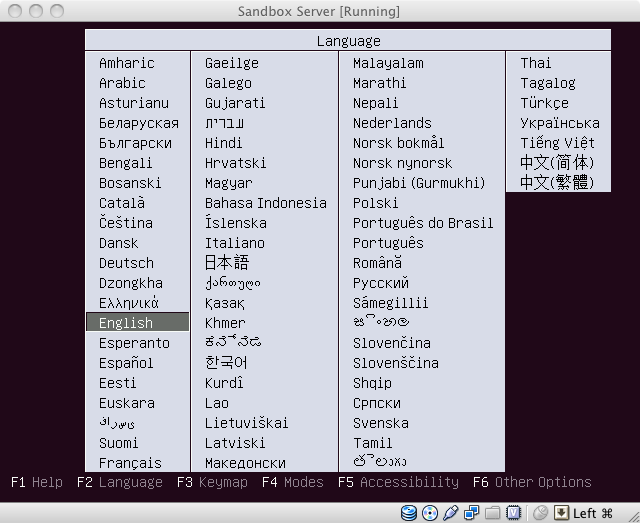
Use your arrow keys to select your language, then press enter.
Select the Install Option. “Install Ubuntu Server” is set by default. Press enter to select that.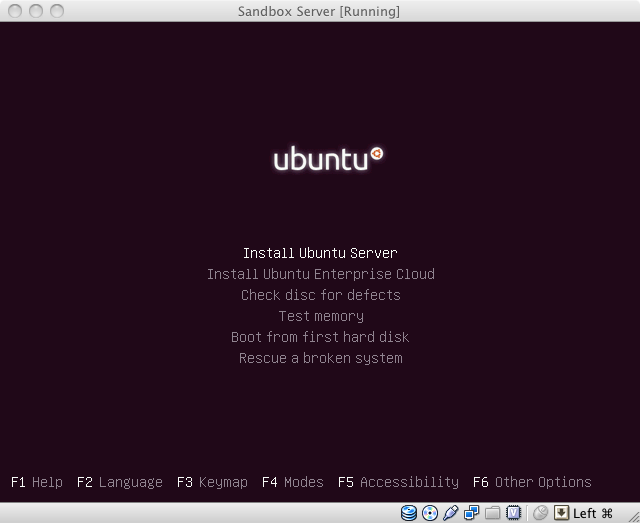
Select the language again. Same way as before. English should be selected by default again, press enter.
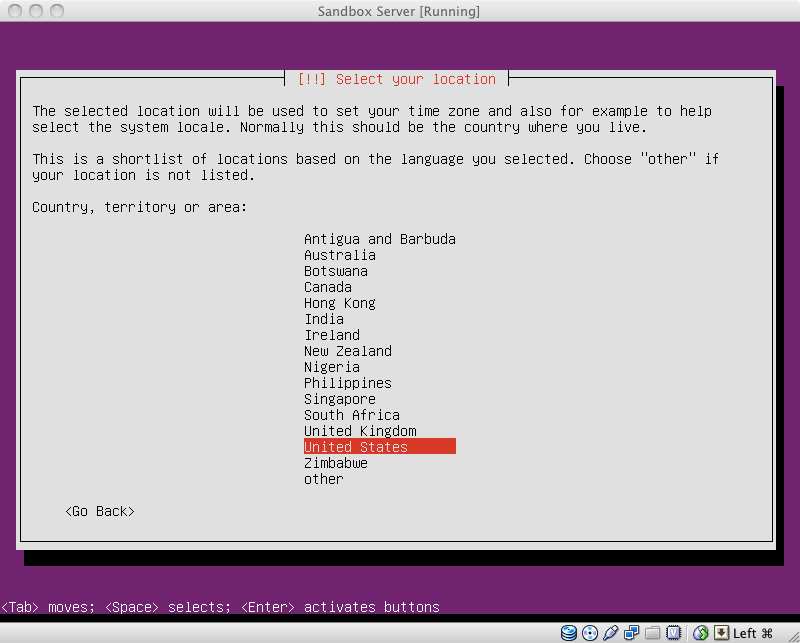
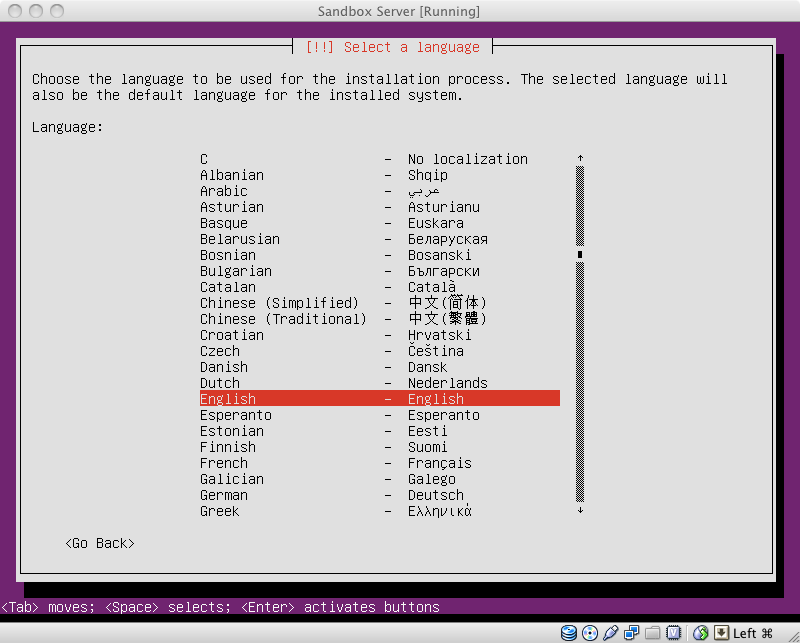 Select Country, same way as language.
Next config the keyboard. I tried the detect keyboard before, but didn’t seem to work. So I’m going to say no to this, and just select it from the list.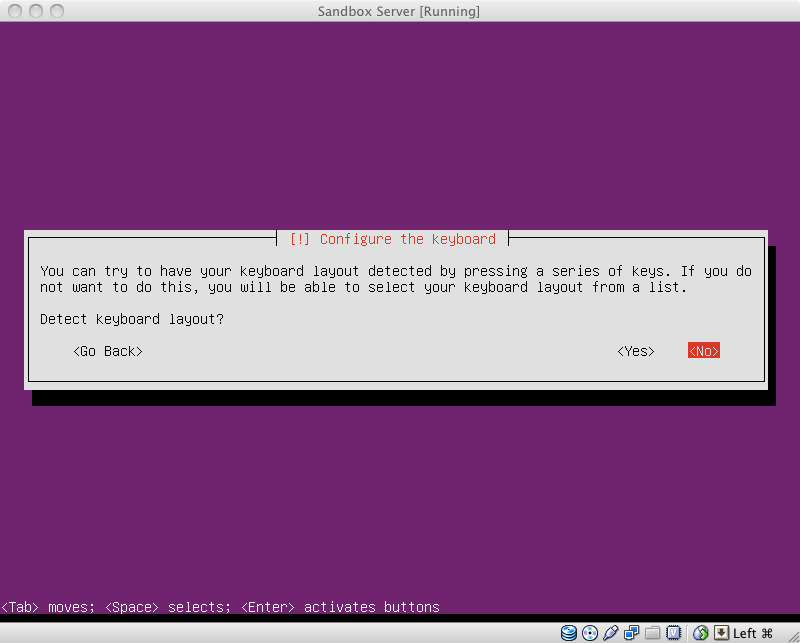
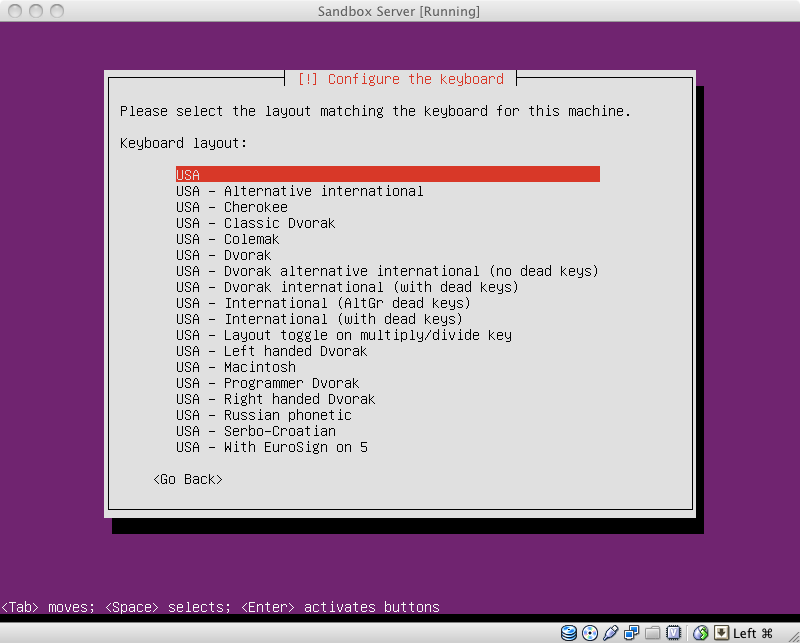
Select your keyboard and press enter. Mine is USA.
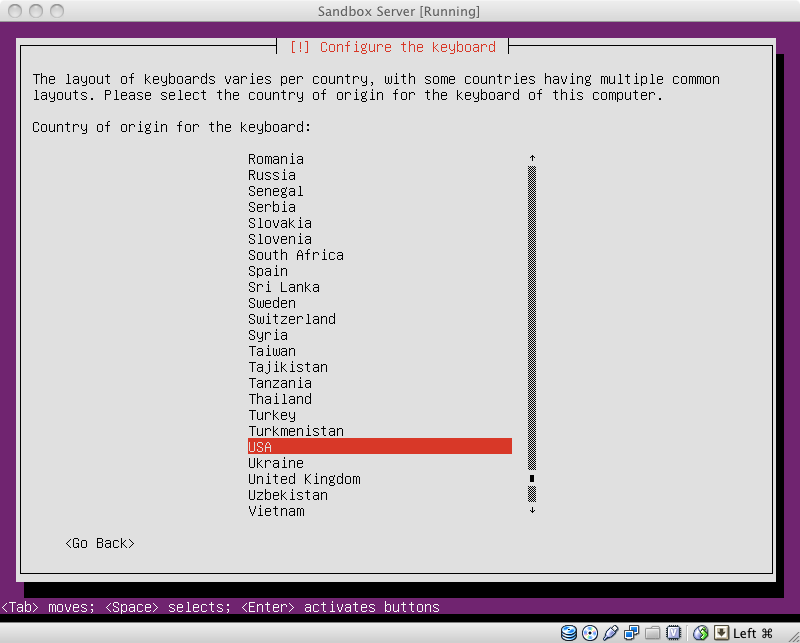 Select the right type of your keyboard. I’m going to just use USA again.
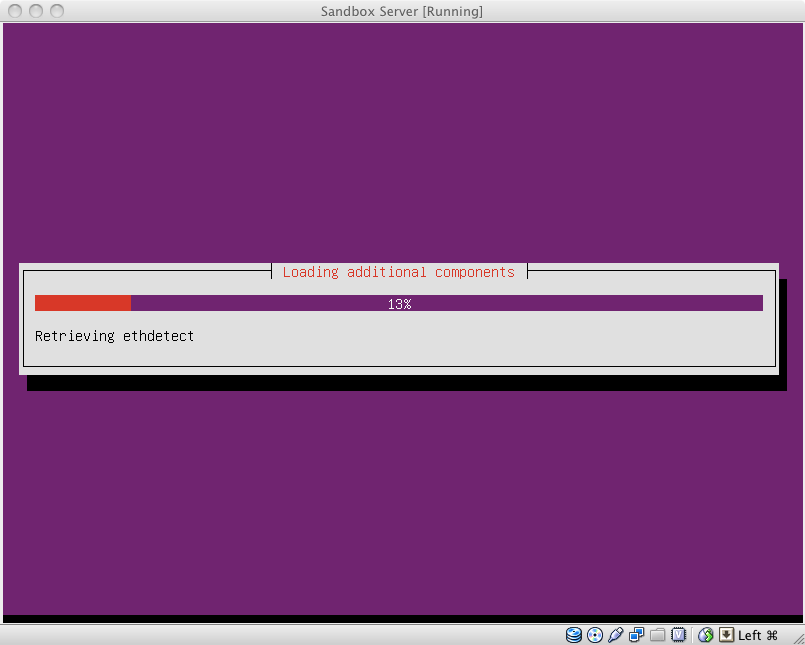
Then wait. It will then do its own thing and detect hardware.
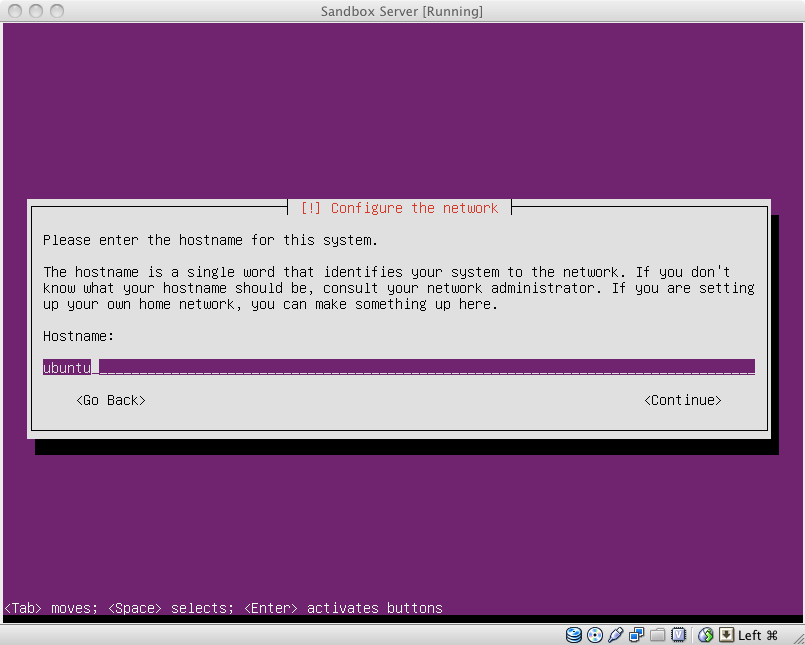
Now select the hostname. I’m going to keep the default of Ubuntu. You can edit this by using your keyboard left and right arrow keys to move in the box. Set the name. press enter.
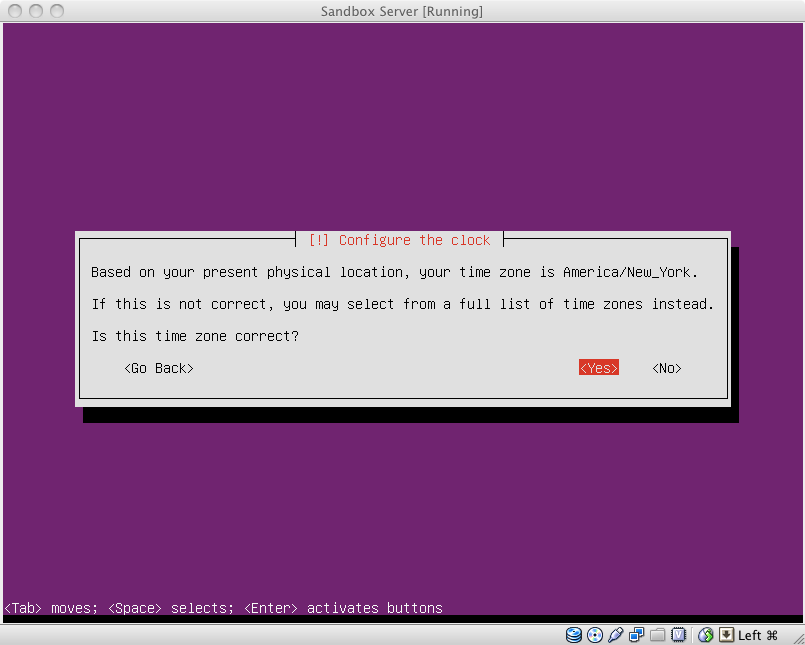
It will then detect your timezone. It got it right for me. So i will press enter for yes.
Now select the partition type. “Guided – Use entire disk and set up LVM” Is selected by default, and I’m not really sure what that means so I like to use just “Guided – Use entire Disk”. So move your up arrow key to select that and press enter.
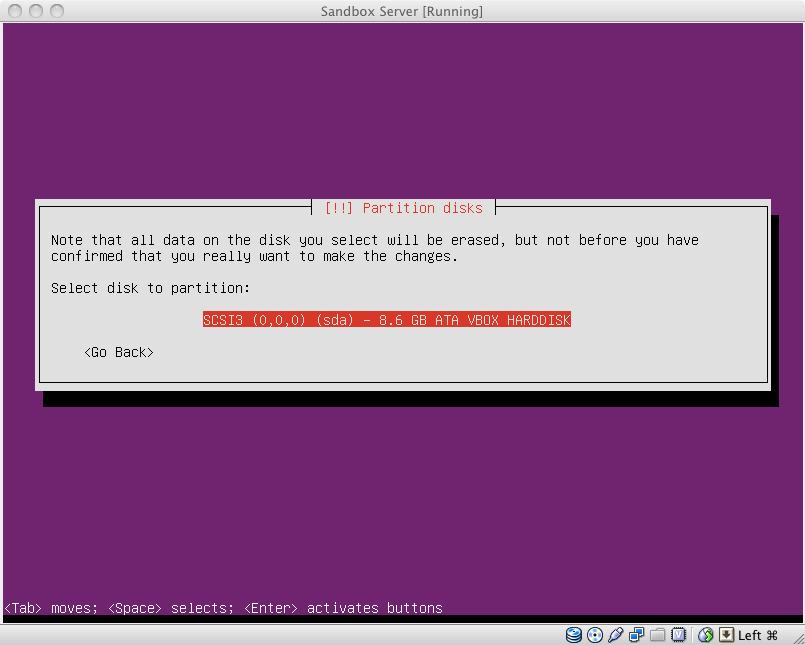
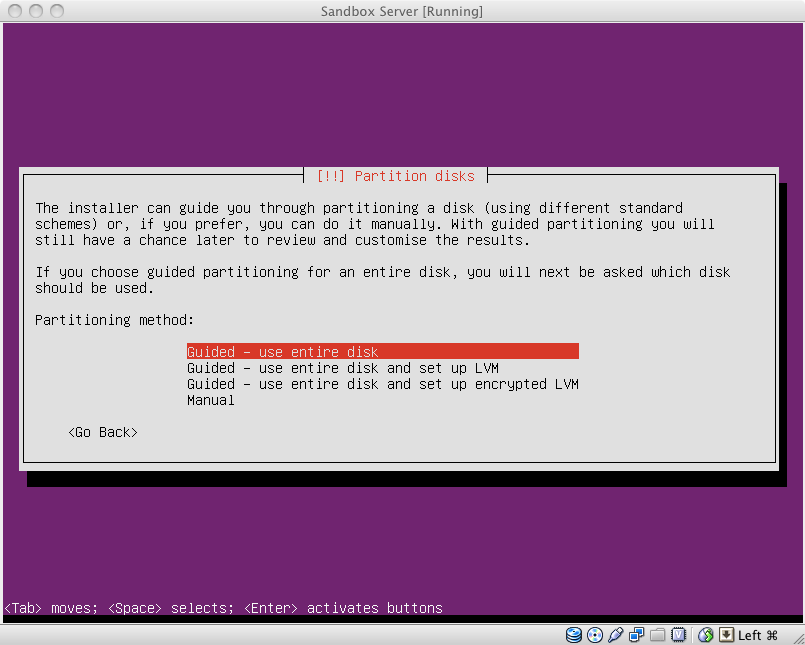 Now select the disk for it to install on. The VM should only have one, so just press enter.
Use your arrow keys to select yes and then hit enter.
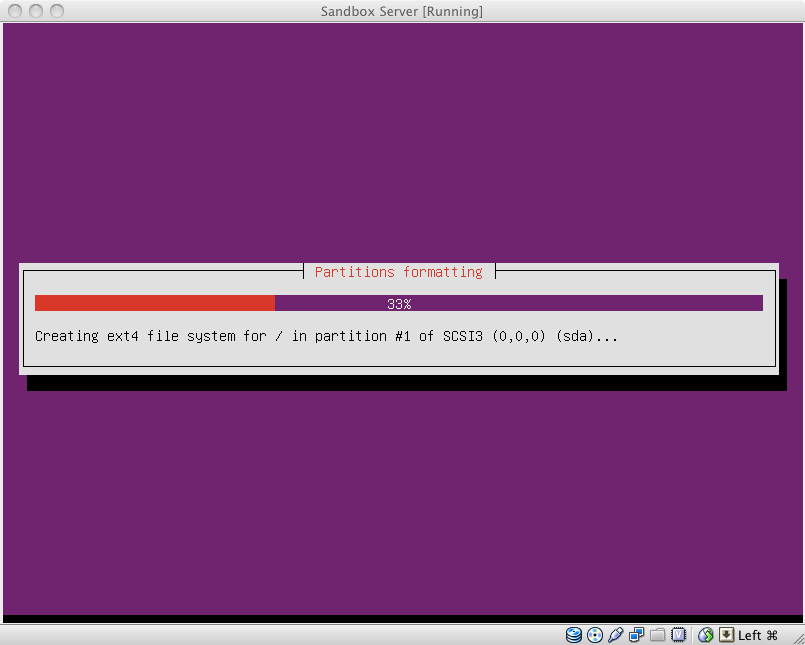
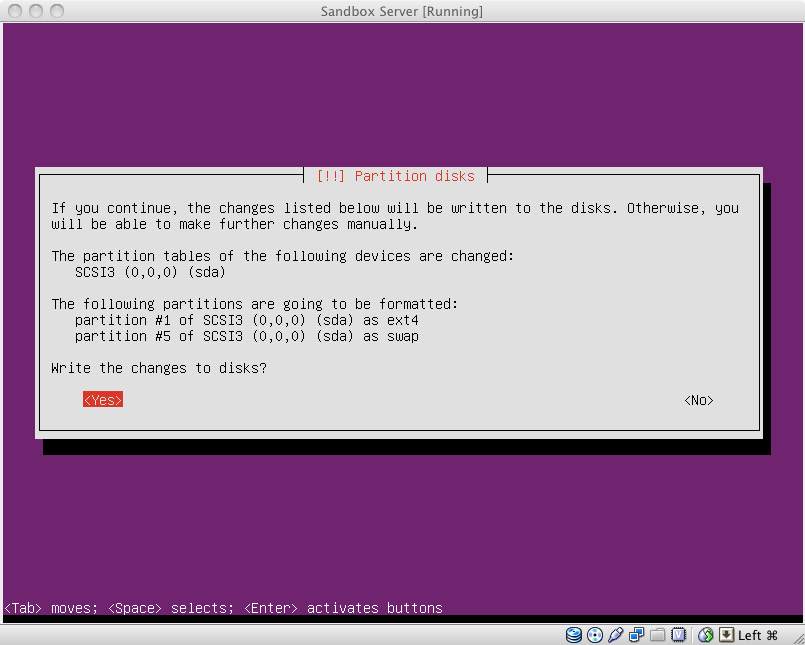 Now Ubuntu will format the disk.
Now Ubuntu will install. Just back and relax while it installs. Maybe fit a cup of coffee or something like that.
Next you need to set up a user account. By default, you can’t use Root. So for now, just set up a user. Move your arrow keys to continue and press enter.
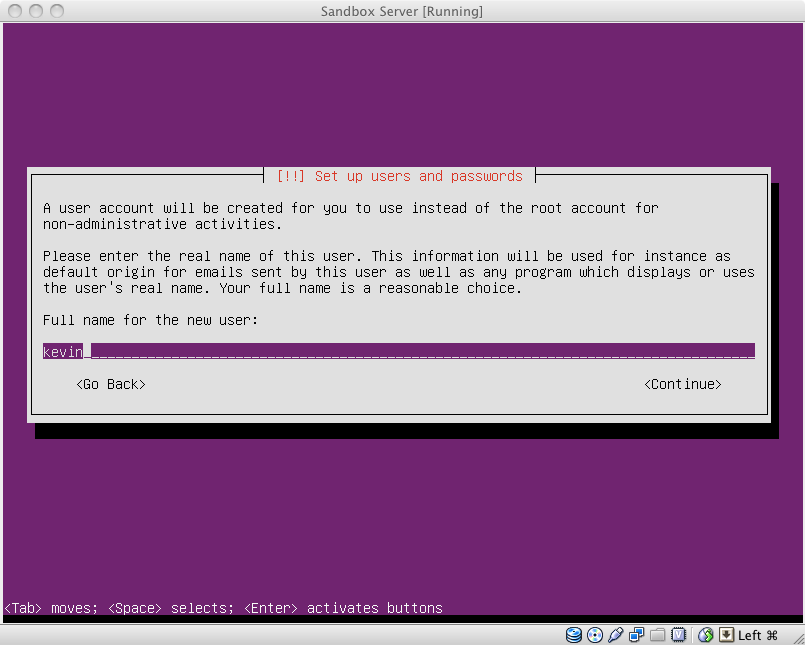 Now pick a username. Remember Linux is case-sensitive.
Now pick a password. I’m going to pick “password” as my password, but you might want to pick a better one.
 Password again, just like any other system.
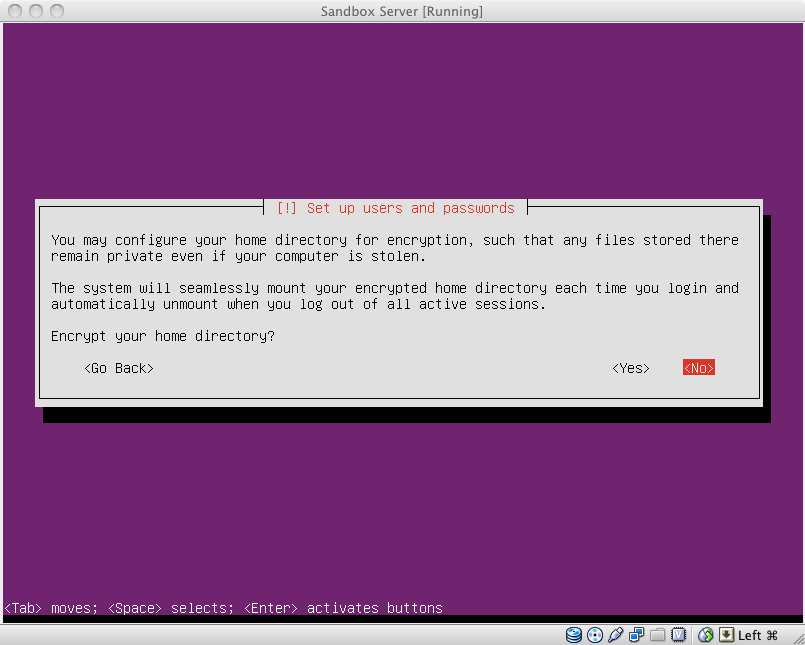
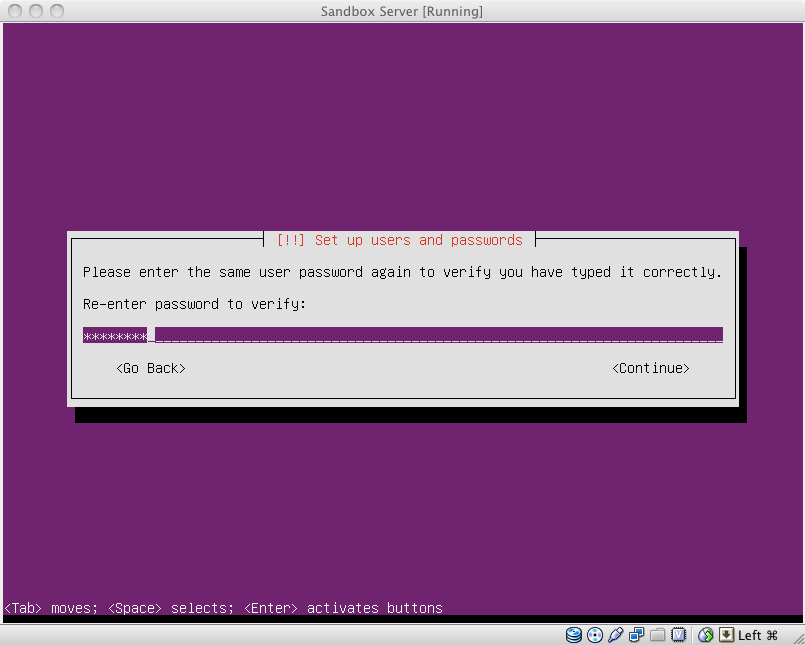 Now it will ask you if you want to encrypt your home directory. I’ll say no.
It will then ask you about Http proxy, i don’t have one so I’ll leave it blank and continue.
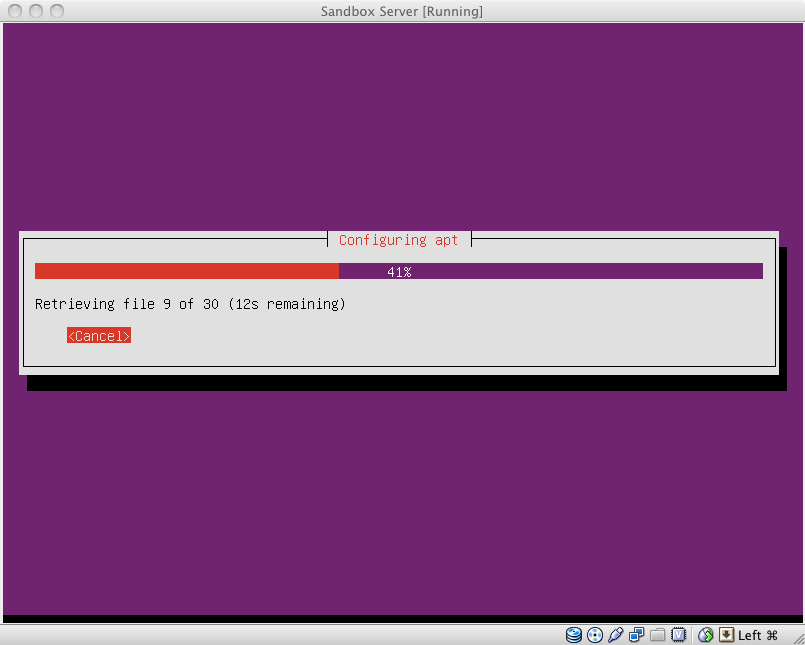
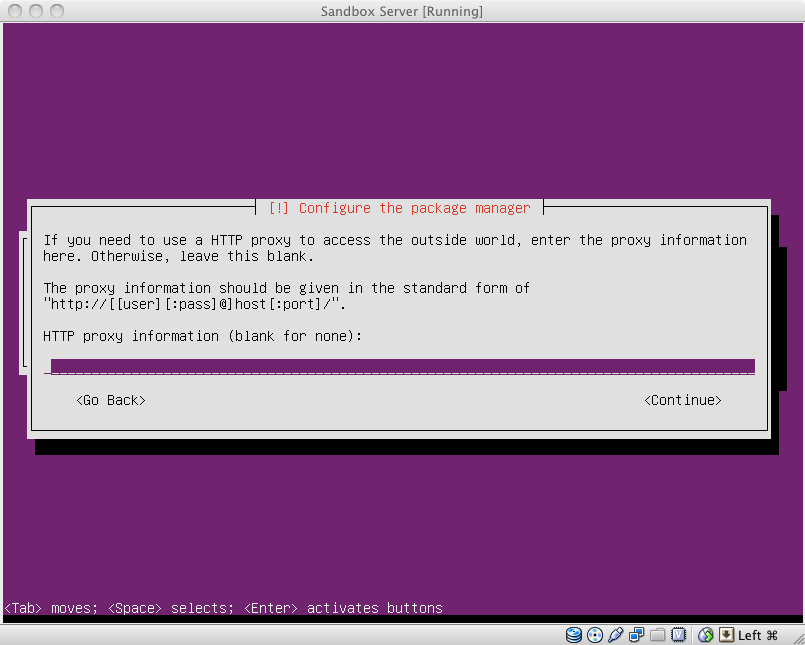 It will then do some configuring on its own.
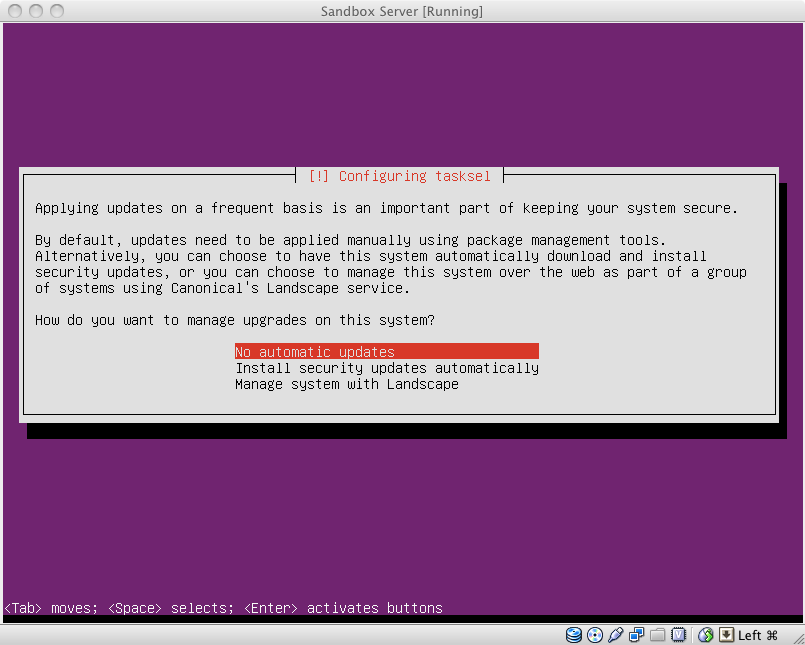
It will then ask how i want to update. I’m going to say no automatic updates because i like to do it on my own.
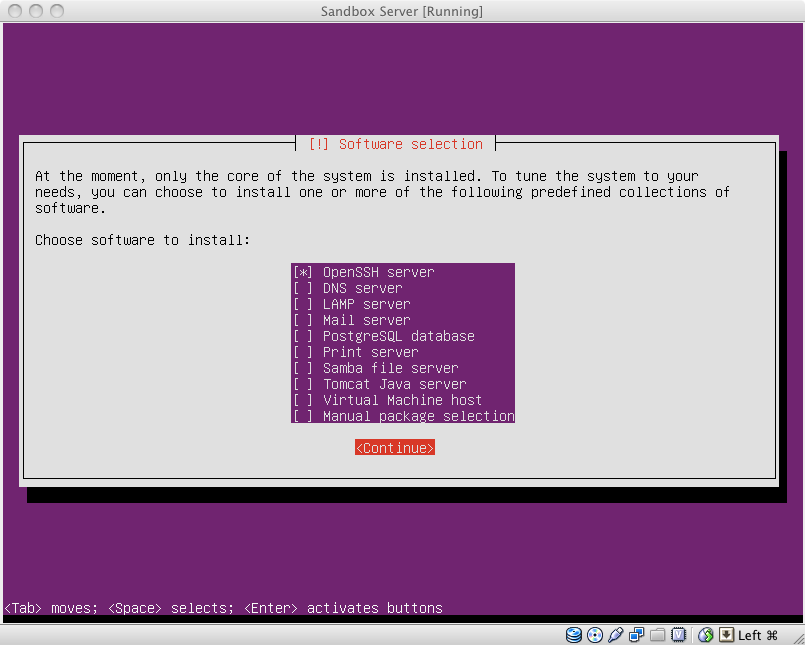
It’s then going to ask me what i want to install. I’m going to just select OpenSSH. It does have a lamp option but i never used that before and not sure on it. I want to show you how to install the packages manually. Like say if you got a Linode VPS, the same skills I’m showing once we get to SSH in, will work on a VPS also.
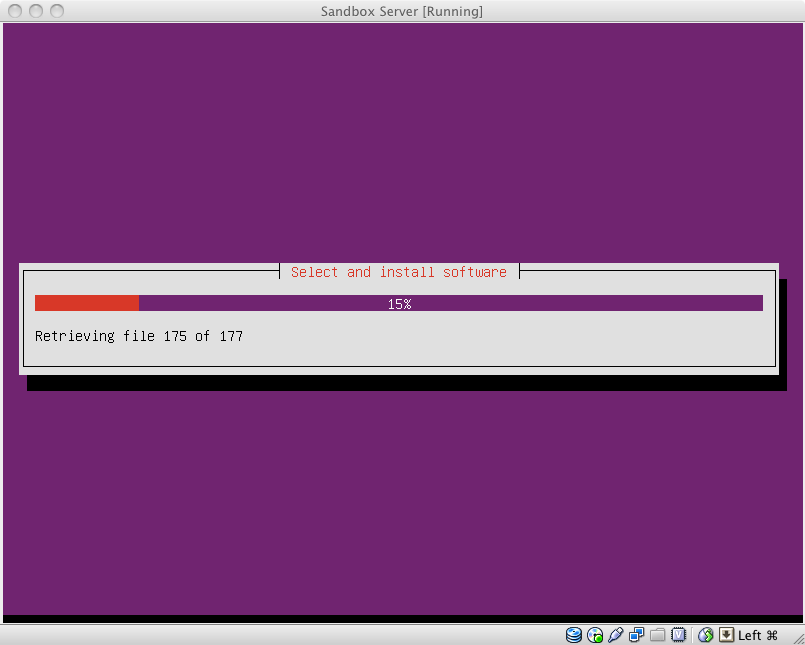
Then wait, Ubuntu will install the software it needs.
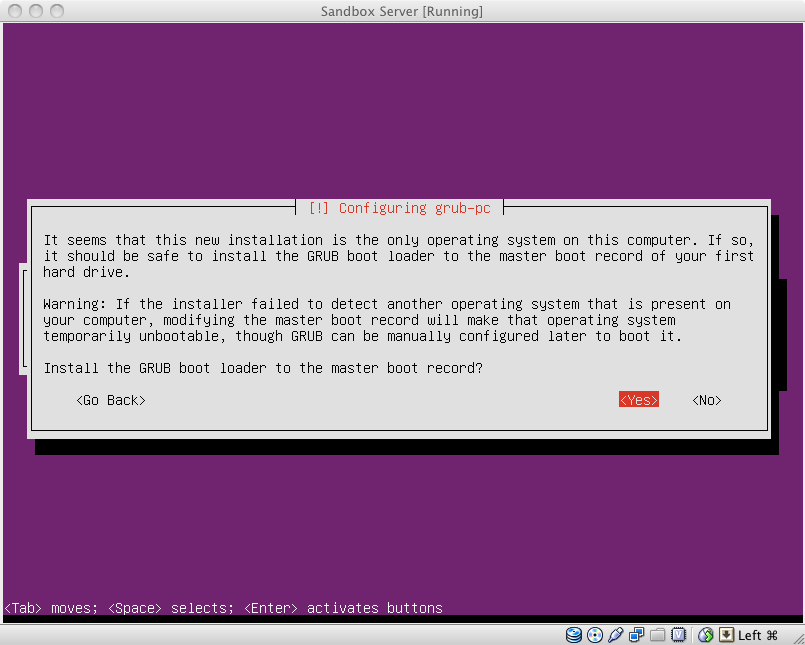
Set Master Boot record. Select Yes. Then wait.
Now you need to eject the virtual CD rom.
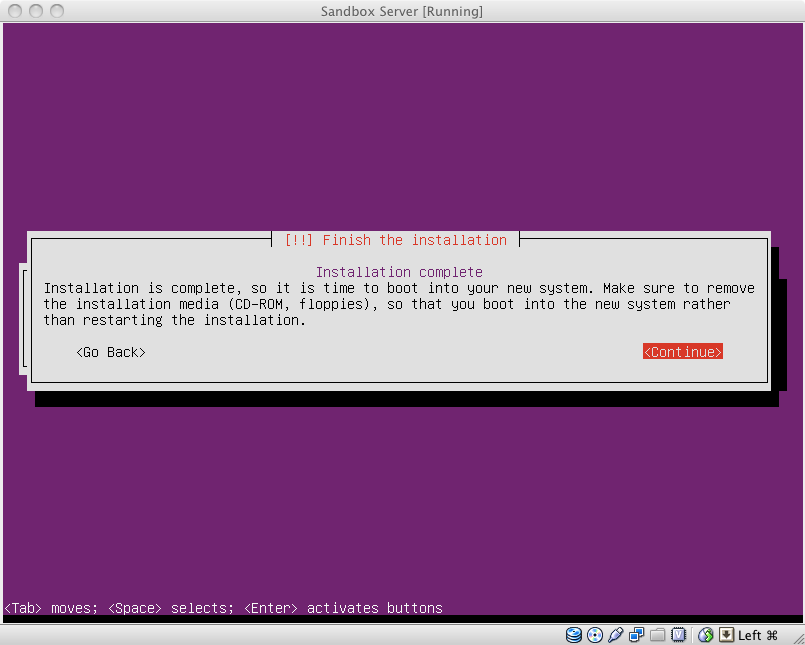 Eject the Disk, by doing to devices, and then CD/DVD Devices and then Remove disk from virtual drive in the menu on the VM, then press continue
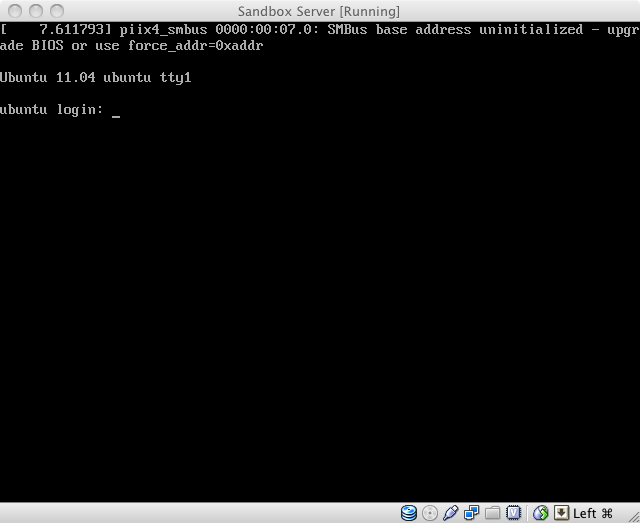
 Then Ubuntu will finish installing and then restart.
Unlocking Root:
Login as the user you created. type your username and press enter, mine was kevin. Then type your password, mine was password. When you type your password, you will not see any text. When your done typing your password hit enter.
Now type
 [code lang="bash"]
sudo passwd root
[/code]
type in your password, press enter
Then type in the password, press hit
then type the password again, press enter.
Done. You changed the root password so you can now login as root.
Other posts in this series
1. Set up a sandbox to test PHP Apps: Part 1, Set up the VM
2. Set up a sandbox to test PHP Apps: Part 2, Install Web Server, PHP, MySQL and PhpMyAdmin

